European Oak vs American White Oak: Which Is Right for Your Cabinetmaking?
For cabinetmaking projects, American white oak typically wins on availability and consistent grain, while European oak delivers richer colour and prestige at a premium. We’ve worked with both species extensively in our workshop, and the choice comes down to whether you value practical workability or distinctive character in your finished pieces.
American white oak (Quercus alba) arrives from eastern and central North America with a lighter tan complexion, often showing pinkish and yellow undertones that suit contemporary and Shaker-style builds. It’s the workhorse timber we reach for when clients need reliable quarter-sawn stock or when budgets matter. European oak (Quercus robur), sourced primarily from France, Germany, and Croatia, brings a darker, richer complexion that elevates traditional furniture designs and period reproductions. Those extra layers of warmth come at a cost, both in price and in sourcing time.
Your decision hinges on the story you want your cabinet to tell. If you’re building kitchen cabinetry where consistency across dozens of doors matters, American white oak’s uniform availability from suppliers across the United States and Canada makes planning straightforward. If you’re crafting a statement hutch or library where visual impact justifies the investment, European oak’s depth of colour rewards the effort.
This comparison walks through the botanical differences, appearance qualities, workability characteristics, and availability realities we’ve encountered across both species. You’ll leave knowing exactly which oak belongs in your next project and why.
At-a-Glance: European Oak vs American White Oak
When you’re choosing oak for a cabinet project, you need the essential facts at your fingertips. We’ve distilled the critical differences between these two species into a quick reference that cuts straight to what matters in the workshop.
| Characteristic | European Oak (Quercus robur) | American White Oak (Quercus alba) |
|---|---|---|
| Origin | Britain and Western Europe, particularly France, Germany, Croatia, Romania, Hungary, Serbia, Poland | Eastern and central North America, primarily United States and Canada |
| Color | Darker, richer complexion | Lighter tan with pinkish and yellow hues |
| Typical Height | Up to 40 metres | Variable depending on growing conditions |
| Common Applications | Traditional British furniture, darker contemporary pieces, historical reproductions | Lighter modern cabinetry, contemporary designs, versatile applications |
Both species share the durability and workability that make oak a cabinetmaker’s staple, but their visual differences and regional availability often drive the choice. European oak suits traditional work and darker finishes, while American white oak fits contemporary aesthetics and lighter treatments. Your location and sourcing relationships may matter as much as the timber’s inherent qualities, particularly when lead times and shipping costs enter the equation.
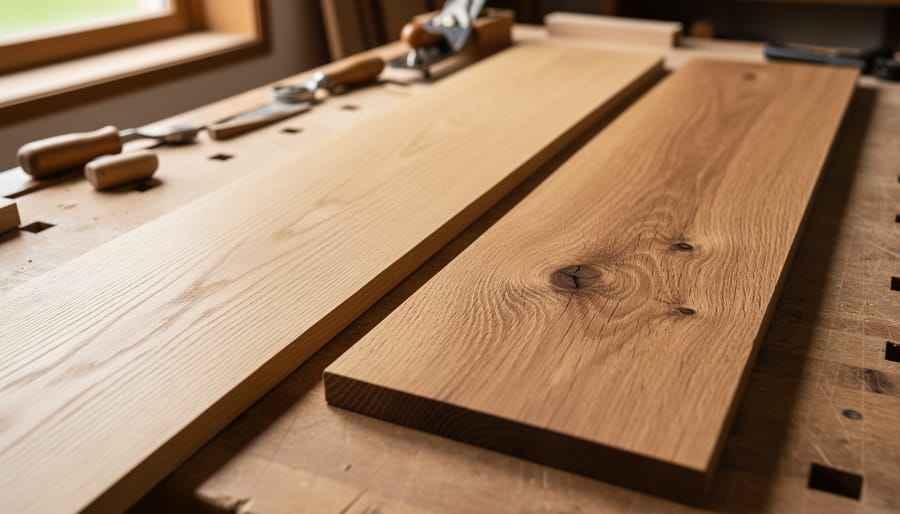
Understanding Each Species
What European Oak Is
European oak is the timber that built Britain’s furniture heritage. When we refer to European oak in cabinetmaking, we’re talking primarily about Quercus robur and Q. petraea two closely related species that share remarkably similar working properties and appearance. Quercus robur, known as common or pedunculate oak, dominates the commercial supply, while sessile oak (Q. petraea) grows alongside it in many forests and often reaches timber merchants as part of the same batch.
These trees thrive across Britain and Western Europe, with France standing as the premier source for cabinet-quality stock. A mature European oak can tower up to 40 metres, developing the wide trunk diameter that yields the broad, clear boards cabinetmakers prize for door panels and carcass sides. The growing conditions across temperate European forests produce timber with a distinctive character: tighter growth rings than many other oaks, often with pronounced medullary rays that create the dramatic silver fleck when boards are quarter-sawn.
Walk into any historic British home and you’ll encounter European oak. For centuries, it served as the default choice for fine furniture, panelling, and architectural joinery. That legacy wasn’t just tradition, the timber genuinely suited the work. Its natural durability made it reliable for pieces expected to last generations, while its workability let craftspeople execute intricate joints and mouldings with hand tools. Even today, when we restore period furniture or build new pieces in traditional styles, European oak maintains that visual and structural authenticity that American species can’t quite replicate.
The timber you’ll find at British merchants typically comes from managed forests where trees are grown specifically for quality sawlog production, not simply harvested from ancient woodland. This means consistent availability of well-seasoned stock in standard cabinetmaking dimensions.
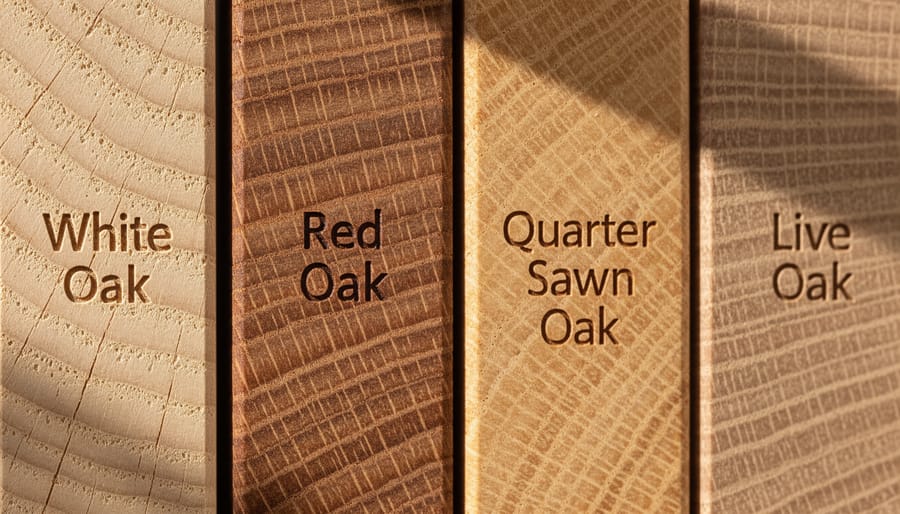
What American White Oak Is
American white oak, scientifically known as Quercus alba, comes from the forests of eastern and central North America. In our workshop, we source it primarily from the United States and Canada, where it grows abundantly in regions stretching from the Great Lakes down through the Appalachians and into the southern states. Unlike European oak, which developed its reputation over centuries of British furniture making, American white oak emerged as a cabinetmaking standard more recently, particularly as transatlantic timber trade expanded.
The species thrives in mixed hardwood forests, developing dense, straight-grained timber that responds predictably to milling and joinery. We’ve found its consistency particularly valuable, trees from different regions share similar working characteristics, which matters when you’re building cabinet sets that need to match. The wood displays a lighter tan colour with subtle pinkish and yellow hues that distinguish it immediately from European oak’s darker complexion. These warmer tones suit contemporary cabinet designs where clients want brightness without sacrificing the substance of solid hardwood.
American white oak has earned its place in modern cabinetmaking through reliability. The supply chain from North American mills delivers well-seasoned stock in standard dimensions, and the species machines cleanly without the surprises some timbers present. While it lacks the centuries-long heritage of European oak in British workshops, it brings different strengths: availability, price stability, and that lighter aesthetic many clients now prefer. For makers outside Europe, it often represents the more practical choice simply because sourcing is straightforward.
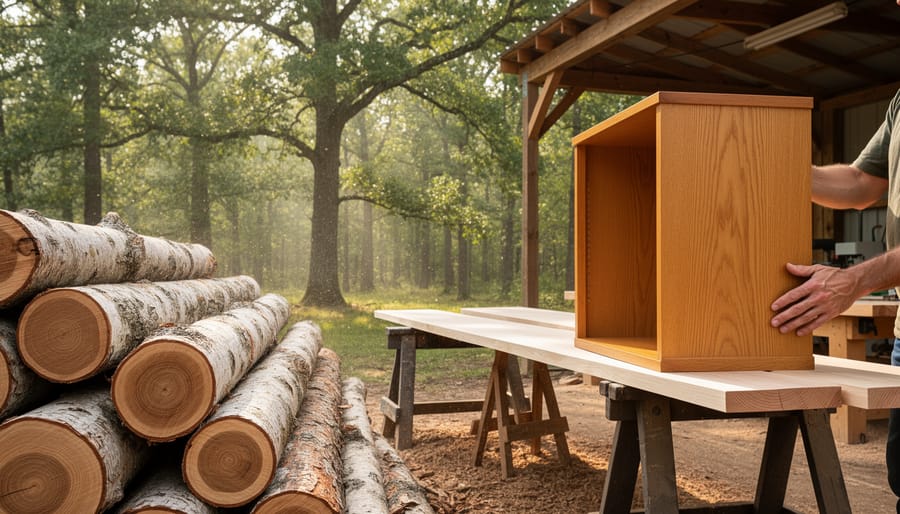
Comparing the Two Oaks: What Matters in the Workshop
Appearance and Color
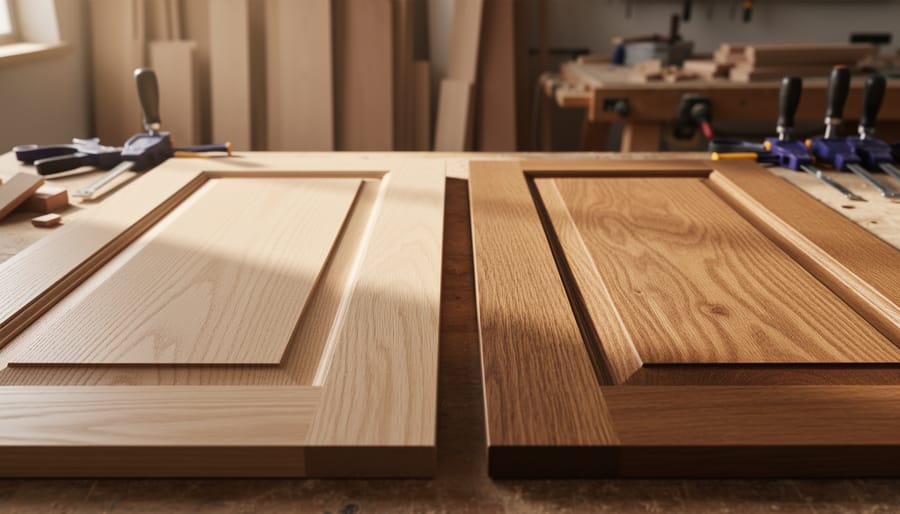
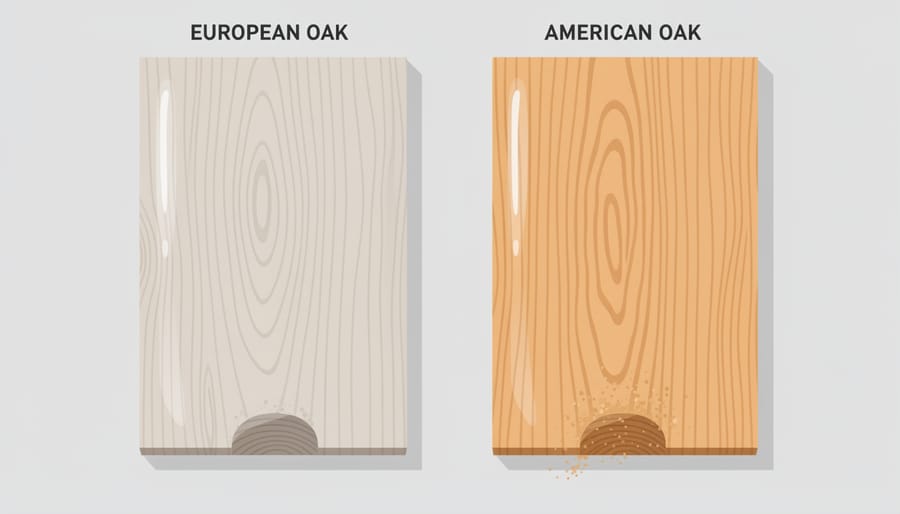
When you mill a board of European oak (Quercus robur), you immediately notice the deeper, warmer tones. The timber presents a darker, richer complexion that reads as classic and traditional. In our workshop, European oak often arrives with honey-brown to medium-brown heartwood, sometimes carrying subtle olive or grey undertones that deepen the character. This darker palette gives finished cabinets a sense of weight and heritage, the kind of visual presence that suits period interiors and traditional joinery.
American white oak (Quercus alba), by contrast, opens up lighter. The heartwood shows as a pale tan with gentle pinkish and yellow hues woven through the grain. This cooler, brighter palette lends itself to contemporary cabinet designs where you want the wood to feel fresh rather than imposing. We’ve found that American oak’s lighter base colour responds differently to finishing: it takes stains more uniformly and can be pushed toward grey or bleached tones without fighting the underlying complexion.
These differences matter when you’re choosing stock for a commission. European oak’s inherent depth means it holds its character under oil or wax, requiring less dramatic finishing to achieve a resolved look. American oak’s lighter canvas gives you more flexibility, especially if a client wants a specific stain match or a Scandi-inspired aesthetic. Both species accept finish well, but they start from different visual positions, and that shapes your approach to the final result.
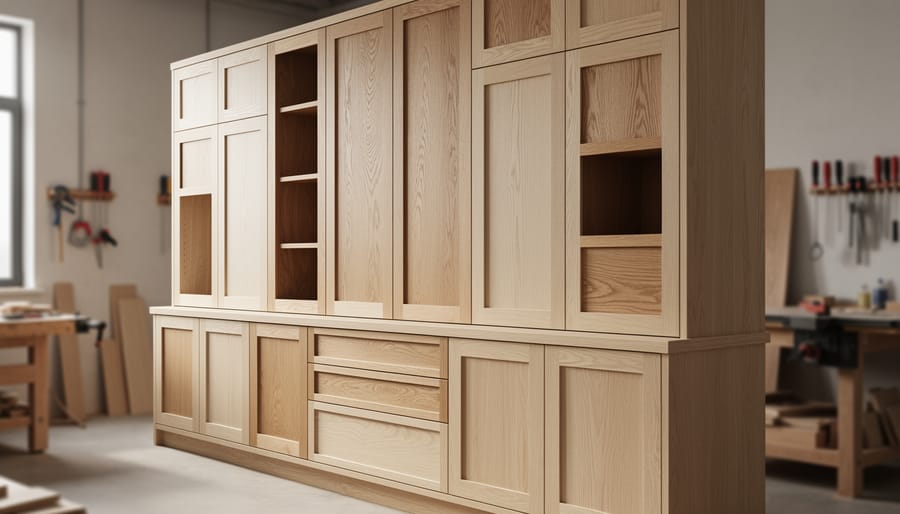
Grain Pattern and Figure
Both oaks display stunning grain, but they reveal their character differently under the saw. We’ve found that grain pattern significantly influences which species suits particular cabinet designs.
When quarter-sawn, both species produce the dramatic ray fleck figure cabinetmakers prize, but European oak typically shows more pronounced medullary rays. These silvery ribbons catch light differently than the surrounding grain, creating depth and visual movement that traditional British furniture relies upon. In our workshop, quarter-sawn European oak consistently delivers bold figure that dominates a cabinet’s presence.
American white oak presents more subtle ray fleck when quarter-sawn, though it remains attractive and distinct. The rays appear as delicate flashes rather than assertive stripes, suiting contemporary designs where wood grain supports rather than commands attention. This restraint works beautifully in Shaker-inspired cabinets or modern minimalist pieces.
Flat-sawn boards from both species display cathedral grain patterns, though European oak’s darker complexion makes these arches more dramatic against the lighter background grain. American oak’s flatter colour renders cathedral patterns gentler and more uniform.
For traditional work demanding visual impact, European oak’s bolder figure excels. When designing cabinets where wood becomes a refined backdrop, American oak’s quieter grain serves better. Neither is superior; they simply offer different visual vocabularies for expressing your design intent.
Hardness and Durability
Both species rank among the toughest materials for strength in cabinetmaking, though their hardness profiles differ slightly. European oak typically registers marginally harder on the Janka scale, translating to excellent resistance against denting and scratching in high-use applications. We’ve found it performs exceptionally well in door frames and drawer fronts where daily contact demands resilience.
American white oak sits just behind in hardness measurements but delivers comparable real-world durability. The practical difference in cabinet contexts proves minimal. Both species resist wear admirably on work surfaces and stand up to the stresses of mortise-and-tenon joinery without splitting. Cabinet doors constructed from either oak maintain their integrity through decades of opening and closing.
The tighter grain structure in European oak can offer a slight edge in moisture resistance, which matters for bathrooms or kitchens. American white oak’s natural tyloses, the cellular structures that block its pores, provide inherent water resistance that European oak matches through its density. For drawer boxes and carcass construction, both species provide the structural stability and longevity that justifies their premium over softer timbers.
Workability in the Shop
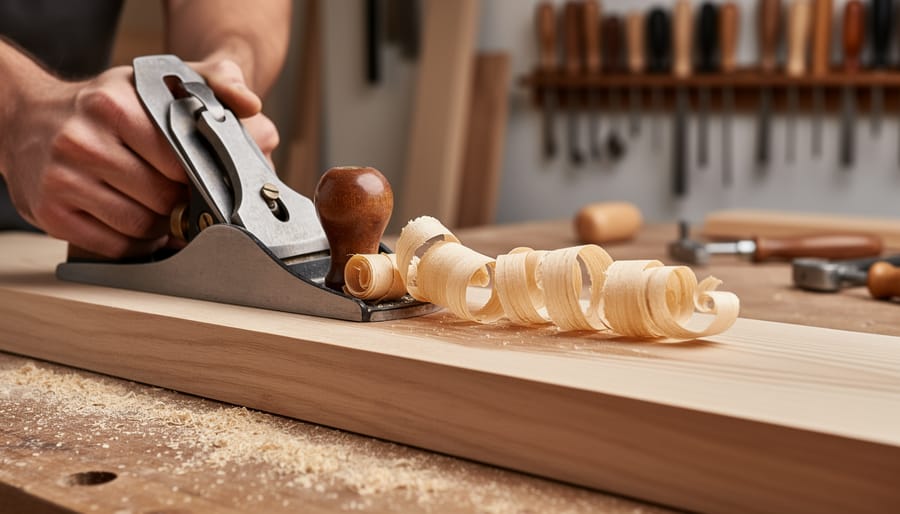
In our workshop, both oaks machine cleanly with sharp tools, but they demand different handling. European oak’s higher silica content dulls blades faster, we resharpen more frequently when working large runs. Its open grain structure responds well to hand planes once properly set, though tear-out can occur around knots if you rush. American white oak is gentler on cutting edges and produces long, satisfying shavings when planing with the grain.
Gluing presents no significant challenges with either species. Both take PVA and polyurethane adhesives reliably, though European oak’s coarser pores benefit from slightly longer clamp time to ensure full joint penetration. We’ve found both species perform equally well in mortise-and-tenon joinery, making them among the best materials for joinery in traditional cabinetmaking.
Finishing behaviour separates them more distinctly. European oak’s tannins react strongly with water-based finishes, often producing a greenish cast that requires careful sealing. American oak accepts finishes more predictably, with less color shift and fewer blotching issues. Both species take oil beautifully, though European oak darkens more dramatically, enhancing its rich character. Pre-raise the grain with either species to avoid roughness after the first coat.
Availability and Sourcing
Sourcing these timbers requires different strategies depending on your location. In Britain and across Western Europe, European oak remains readily accessible through established timber yards and specialist hardwood suppliers. We’ve found merchants maintain steady stock from French, German, and Eastern European sources, particularly Croatia, Romania, Hungary, Serbia, and Poland, with typical lead times of days to weeks for standard dimensions. Building relationships with local suppliers often yields access to better grades and more flexible board selection.
American white oak presents a mirror scenario. If you’re workshop-based in North America, sourcing is straightforward through regional lumber dealers who stock domestically milled material. For British and European makers, however, American oak requires importing, which adds complexity: longer lead times stretching to several weeks, shipping logistics, and currency exchange considerations. We’ve learned that ordering larger quantities justifies the import process, making it worthwhile for shops committed to working this species regularly.
The practical reality shapes project planning. European makers benefit from quick turnaround on local oak, while those seeking American white oak must factor additional time into schedules. North American craftspeople enjoy the reverse advantage. Understanding your supply chain determines not just material choice but workflow timing.
Cost Considerations
Cost differences between European and American white oak reflect your location and shipping realities more than inherent timber value. In Britain and Western Europe, European oak typically costs less due to shorter transport distances and established local supply chains. We’ve found North American makers enjoy similar advantages with American white oak sourced domestically. Currency exchange fluctuations, import duties, and freight charges can swing the equation significantly. Market demand also shifts pricing, European oak’s traditional appeal in restoration work versus American oak’s popularity in contemporary designs creates regional price variations. Your best value emerges from sourcing the species closest to your workshop rather than chasing a universally cheaper option.
Weighing Your Options: Strengths and Limitations
When choosing cabinet materials understanding what each oak species brings to your workshop helps you match timber to intent rather than defaulting to what’s available.
European oak delivers a presence that American white oak struggles to replicate. The darker, richer complexion we see in European oak creates depth in finished cabinets, particularly when you’re building traditional pieces or restoring period furniture where authenticity matters. For UK and European makers, sourcing European oak means shorter lead times and often simpler logistics, since the timber comes from France, Germany, and surrounding regions rather than crossing the Atlantic. The prominent ray fleck in quarter-sawn European oak gives you visual drama without needing exotic species.
American white oak counters with consistency and a lighter palette. The tan base with pinkish and yellow undertones opens up contemporary design possibilities, especially in kitchens and living spaces where brightness matters. We’ve found American white oak more predictable in color matching across boards, which matters when you’re building a run of cabinets that must look uniform. For North American makers, it’s the home team timber with reliable availability and established supplier networks.
European Oak Pros
- Darker, richer appearance suited to traditional British furniture aesthetics.
- Shorter shipping distances and faster availability for UK and European makers.
- Dramatic ray fleck patterns add visual interest to quarter-sawn work.
- Strong historical connection to regional craft traditions.
European Oak Cons
- Higher shipping costs and longer lead times for North American makers.
- Darker coloring limits flexibility in contemporary light-toned designs.
- Regional availability varies more than American white oak in global markets.
American White Oak Pros
- Lighter color palette works well in modern, Scandinavian-inspired designs.
- Highly consistent color matching across boards within shipments.
- Readily available throughout North America with established supply chains.
- Accepts a wider range of finishing treatments due to lighter base tone.
American White Oak Cons
- Transatlantic shipping adds cost and complexity for European makers.
- Lighter appearance may feel out of place in traditional British furniture contexts.
- Less pronounced character in some boards compared to European oak’s rich figure.
Both species machine well and hold joinery reliably, so the practical differences show up in appearance and sourcing rather than fundamental workability. Your location and project aesthetic drive the decision more than any inherent superiority in either timber.
Which Oak Should You Choose for Your Project?
Choose European Oak If…
Choose European oak if you’re working in Britain or Western Europe and want to honour traditional cabinetmaking heritage. When you’re based in the UK, France, or Germany, sourcing local European oak reduces lead times and shipping costs whilst supporting regional timber economies. We’ve found that makers focused on period reproduction, Georgian, Victorian, or Arts and Crafts pieces, particularly value European oak’s historical authenticity, as it’s the species British craftspeople have used for centuries.
European oak is your best choice when the design calls for a darker, richer appearance straight from the mill. Its natural depth of colour requires less staining to achieve traditional furniture tones, making it ideal for projects where you want warm, antique-inspired aesthetics. The species also suits projects where strength and beauty must align with regional character, kitchen cabinetry in a French farmhouse conversion, library shelving in a Scottish estate, or dining furniture for English country homes. If your workshop is in Europe and your clients expect furniture that feels connected to local woodworking traditions, European oak delivers that sense of place in ways American white oak cannot match.
Choose American White Oak If…
American white oak stands as the superior choice when your project demands a lighter, more contemporary aesthetic. Its natural tan colour with subtle pinkish and yellow undertones creates the airy, Scandinavian-influenced feel that defines modern cabinetmaking. We’ve found it particularly effective for kitchens and fitted wardrobes where clients want warmth without visual heaviness, the lighter tone opens up spaces whilst maintaining the depth and character that only genuine oak can provide.
If you’re working in North America, the availability argument alone often settles the decision. American white oak arrives from domestic sources in the United States and Canada with shorter lead times, predictable supply chains, and no currency exchange complications. This reliability matters enormously when you’re planning multiple projects or need to source matching boards months apart. Your local timber merchant likely stocks several grades and cuts as standard inventory rather than special-order items.
The species also excels when specific grain requirements drive your design. American white oak’s consistent figure and pronounced ray fleck, especially in quarter-sawn boards, deliver the visual drama traditional cabinetmaking celebrates. For projects requiring a uniform appearance across multiple cabinet fronts, this consistency simplifies selection and reduces waste.
Finally, choose American white oak when your finishing strategy centres on clear oils or natural finishes that showcase the wood’s inherent colour. Our construction material guide explores how different timbers respond to finishing, and American oak’s lighter base accepts transparent treatments beautifully, allowing you to preserve its fresh, contemporary character whilst enhancing grain definition.
When Either Works Well
Many cabinetmaking projects don’t demand one oak species over the other, both perform superbly when structural integrity, moderate workability, and lasting beauty matter most. Kitchen cabinets, built-in wardrobes, and traditional furniture frames all benefit from oak’s inherent strength and grain character, whether you’re using European or American stock. The decision often comes down to which timber yard offers better boards this month, or which species fits your budget after shipping. We’ve built bookshelves, paneled walls, and drawer boxes with both oaks and found their performance virtually indistinguishable in service. If your design doesn’t hinge on a specific colour tone or dramatic ray fleck, let availability and cost guide you, the craftsmanship matters far more than the continent the tree grew on.
What Each Option Is
European oak and American white oak are both premium hardwoods prized in cabinetmaking, but they come from different species and continents. European oak refers primarily to Quercus robur, a tree native to Britain and Western Europe that can reach up to 40 metres in height. It grows extensively across France, Germany, Croatia, Romania, Hungary, Serbia, and Poland, making it the traditional choice for British and Continental furniture makers who’ve worked with locally sourced timber for centuries.
American white oak, scientifically known as Quercus alba, hails from eastern and central North America. Most of what reaches workshops comes from the United States and Canada, where the species thrives in temperate forests. Both woods share the oak family’s characteristic strength and distinctive grain, but their geographical separation has led to differences in appearance and working properties. European oak typically presents a darker, richer complexion, whilst American oak tends toward a lighter tan with subtle pinkish and yellow undertones that become apparent under natural light and various finishes.
Who Should Choose Which
Your cabinetmaking material choice between these oaks comes down to where you work, what you’re building, and the aesthetic you’re after.
If you’re a British or European maker working on traditional pieces, European oak makes practical sense. The shorter supply chain means lower shipping costs and simpler logistics. Its darker, richer tone suits period furniture, heritage reproductions, and projects where you want that classic English or French cabinetry look. We’ve found it particularly effective for Arts and Crafts style work and anything requiring pronounced grain character.
American white oak serves you better if you’re based in North America or prefer lighter, contemporary aesthetics. The consistent availability across the United States and Canada, combined with the species’ lighter tan and pinkish hues, makes it ideal for modern cabinet designs and Shaker-inspired pieces. Its slightly more uniform grain also appeals to makers who want subtler figure.
For makers on either continent working in contemporary styles without strong period references, either species performs admirably. Your decision then rests on sourcing convenience and personal colour preference rather than technical limitations. Both deliver the durability, workability, and timeless appeal that define quality cabinetmaking.
European Oak vs American White Oak Terms to Know
Understanding the language of oak timber helps you communicate clearly with suppliers, interpret technical specifications, and make informed choices in the workshop. These terms come up repeatedly when sourcing and working with oak for cabinetmaking.
- Quarter-Sawn
- A milling technique that cuts boards perpendicular to the growth rings, revealing dramatic ray fleck figure and improving dimensional stability, particularly valued in both oak species for cabinet faces and drawer fronts.
- Ray Fleck
- The distinctive silvery or golden ribbons visible on oak surfaces, created by medullary rays that radiate from the tree’s centre; more pronounced when the timber is quarter-sawn and a defining visual characteristic of both European and American oak.
- Open Grain
- The porous cellular structure characteristic of oak species that requires grain filling before finishing to achieve a smooth surface, affecting both preparation time and finishing product choices in the workshop.
- Kiln-Dried
- Timber dried in a controlled heated chamber to specific moisture content (typically 8-12% for indoor cabinetwork), reducing movement and checking risk; essential for both oak species to perform well in furniture applications.
- Board Footage
- The standard volume measurement for hardwood lumber, calculated as thickness in inches × width in inches × length in feet ÷ 12, used universally when pricing and ordering oak from timber merchants.
Familiarising yourself with these terms makes supplier conversations more productive and helps you specify exactly what you need for a project. When you can distinguish between flat-sawn and quarter-sawn stock or articulate your moisture content requirements, you gain better control over material selection and avoid costly misunderstandings that compromise your work.
Common Questions About Oak Selection
Can I mix European and American white oak in the same piece of furniture, or will the colour difference be too noticeable?
The colour contrast is significant enough that we don’t recommend mixing these species within sight lines of each other. European oak’s darker, richer tone and American oak’s lighter tan with pinkish hues will be obvious even under the same finish, creating an unintentional patchwork effect that most clients find jarring rather than intentional.
Do these two oaks require different finishing approaches?
Both accept finishes well, but European oak’s tannin content is higher, which can react more dramatically with water-based products and certain stains. We’ve found that pre-conditioning with a wash coat often produces more predictable results on European oak, whilst American oak tends to be more forgiving across different finishing systems.
Is one species more sustainable or environmentally responsible to choose?
Both can be sustainably sourced when you buy from certified suppliers, though the carbon footprint differs based on your location. If you’re working in Britain or Western Europe, locally sourced European oak from France or Germany will have lower transport emissions than American oak shipped across the Atlantic, making geography rather than species the deciding sustainability factor.
Can I substitute one for the other in existing plans or designs?
You can substitute based on structural properties since both perform similarly in joinery and durability, but you’ll need to reconsider your finishing schedule and educate your client about the different aesthetic outcome. The substitution works mechanically but changes the visual character of the finished piece significantly.
Will clients notice or care about which oak I’ve used?
Most clients won’t identify the species by name, but they’ll absolutely notice the colour and grain differences in the finished cabinet. We explain the visual distinction during the design phase rather than treating it as an interchangeable detail, because the choice fundamentally affects whether the piece reads as warm and light or rich and traditional.
Does one species hold screws and hardware better than the other?
Both provide excellent fastener holding power for cabinet hardware, hinges, and drawer slides. The slight hardness variation between them makes no practical difference in typical joinery applications, so you can spec hardware with confidence regardless of which oak you’ve chosen.
How do shipping times compare when ordering each species?
European oak typically arrives within days to a couple of weeks for British and European makers working with local suppliers, whilst American oak faces longer transit from North America. For North American woodworkers the situation reverses, with domestic American oak readily available and European oak requiring international shipping and longer lead times.
The questions we hear most often in the workshop revolve around whether these differences actually matter once the cabinet is built and finished. Our experience shows they absolutely do, but perhaps not in the ways beginners expect. The colour variation persists through most finishing systems rather than disappearing, meaning your choice establishes the foundational palette for the entire piece. Similarly, the subtle workability differences become more apparent as you develop your hand skills and learn to read how each species responds to edge tools and joinery cuts.
Both European and American white oak earn their place in the cabinet shop, and neither deserves to be dismissed as simply “the other option”. Your choice isn’t about finding a winner, it’s about matching timber characteristics to your project’s demands and your workshop reality.
European oak brings that darker, richer presence perfect for traditional British furniture and period-accurate work, while American white oak offers a lighter palette that suits contemporary designs and certain finishing approaches. One isn’t inherently superior; they’re different tools for different jobs.
We encourage our students to move beyond viewing material selection as a checklist exercise. Understanding why you’re choosing a particular oak, whether it’s grain figure, color, local availability, or historical authenticity, develops the discernment that separates competent makers from true craftspeople. Consider your aesthetic vision first, then check your practical realities: what’s accessible, what your budget allows, and what your project genuinely needs.
The right oak is the one that serves your design intent and works within your sourcing constraints. Trust your judgment, informed by hands-on experience and thoughtful comparison, and you’ll make timber choices that enhance rather than compromise your cabinetmaking.